
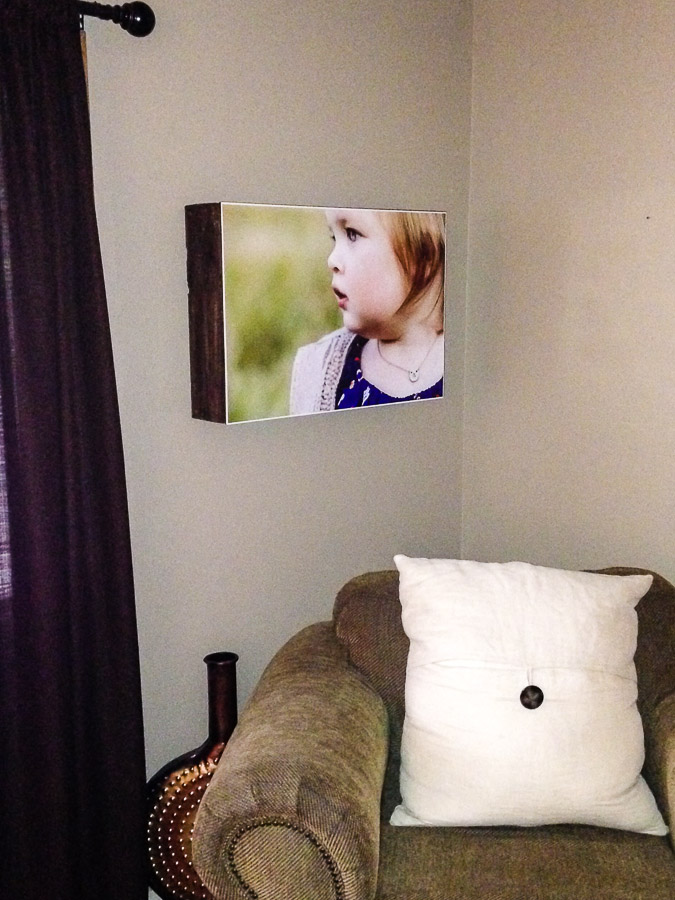
Iphone pic of my image at Ginny's house.
A few of my friends have asked me about my gallery wall and I thought it would be something fun to share here. First, the inspiration for this project came from my friend, Ginny Taylor. Ginny and her husband made a couple of beautiful wood raised frames to display some of the images that I had taken of them last fall. The frames were 20 x 30 in size and when I first saw them I actually teared up - it was the first time I had seen one of my images that BIG and so beautifully displayed! A little milestone moment for me as a new professional photographer! I knew I had to get my new fall family photos (taken by Ginny!) up on the wall as well, but I didn't want to spend a fortune in frames or canvases.

I started by making paper templates of each image size to get a better feel for the overall size. I played around with 4x6 prints of the images that I planned to enlarge and the paper templates helped to visualize the finished look. I ended up printing the following sizes:
(4) 9x12
(2) 10x20
(1) 20x30
I printed everything through Nations Photo Lab and the total cost was $42.
*note my tiny helper in the corner.

Our first stop was Home Depot. (7th graders LOVE to make the ever popular duck face pose in every. single.photo. I keep telling her that this look will come back to haunt her, but she isn't buying it yet!). I bought a 4' x 8' sheet sheet of poplar plywood for $39.97 and Home Depot cut each piece for me to the specific sizes. I had each board cut 1/4 inch smaller than the images so the measurements were as follows:
(4) 8 3/4 x 11 3/4
(2) 9 3/4 x 19 3/4
(1) 19 3/4 x 29 3/4
I picked the smoothest piece of wood I could find so that my printed images would lay as flat as possible.
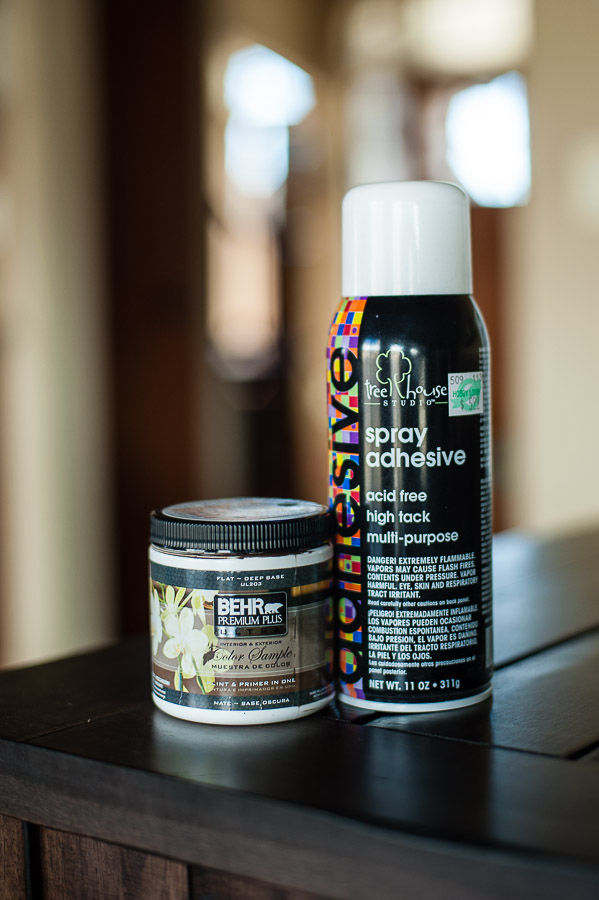
Paint came from Home Depot - a sample can of Behr Premium Plus and the color is Oak Creek for $2.97. The spray adhesive came from Hobby Lobby for $5.99.

I painted the edges of each board like this. I think just 2 coats. I also lightly sanded the edges and the side that I planned to use for my image.

The image is now mounted on the board with the spray mount and flipped over. It's important to spray the wood and to spray the back of the image and then let sit for 60 seconds or so before you adhere them together - just follow directions on the back of the can. You can now see about 1/4 inch extra edge showing. I took an exact knife and trimmed along each side of the board. Note the center hole for hanging - the idea for this came directly from this YouTube video.

Close up of the finished edge.

Finished gallery wall in our family room.

I hung everything a little higher than usual just so my toddler would have a harder time reaching them! Also, the next time around I think I would print even larger sizes since we have such a big wall to fill. I love the impact and the clean look without frames.
I hope you are inspired to get your images OFF your computer and UP on your wall!
